
Start here
Connect GitHub
Link your GitHub account, authorize repositories, and open your first content Space.
Connect an existing GitHub repository to bring its content into Prosefly. Owners and admins manage repositories from Organization settings → Repositories. Choose Connect repository to begin.
Account linking verifies your GitHub identity. GitHub App authorization controls which repositories Prosefly can access. Both steps are required before choosing a repository.
1. Connect your GitHub account
Choose Connect GitHub account and complete the GitHub authorization flow. Return to Prosefly to continue. A GitHub account connected label shows when the account is linked.
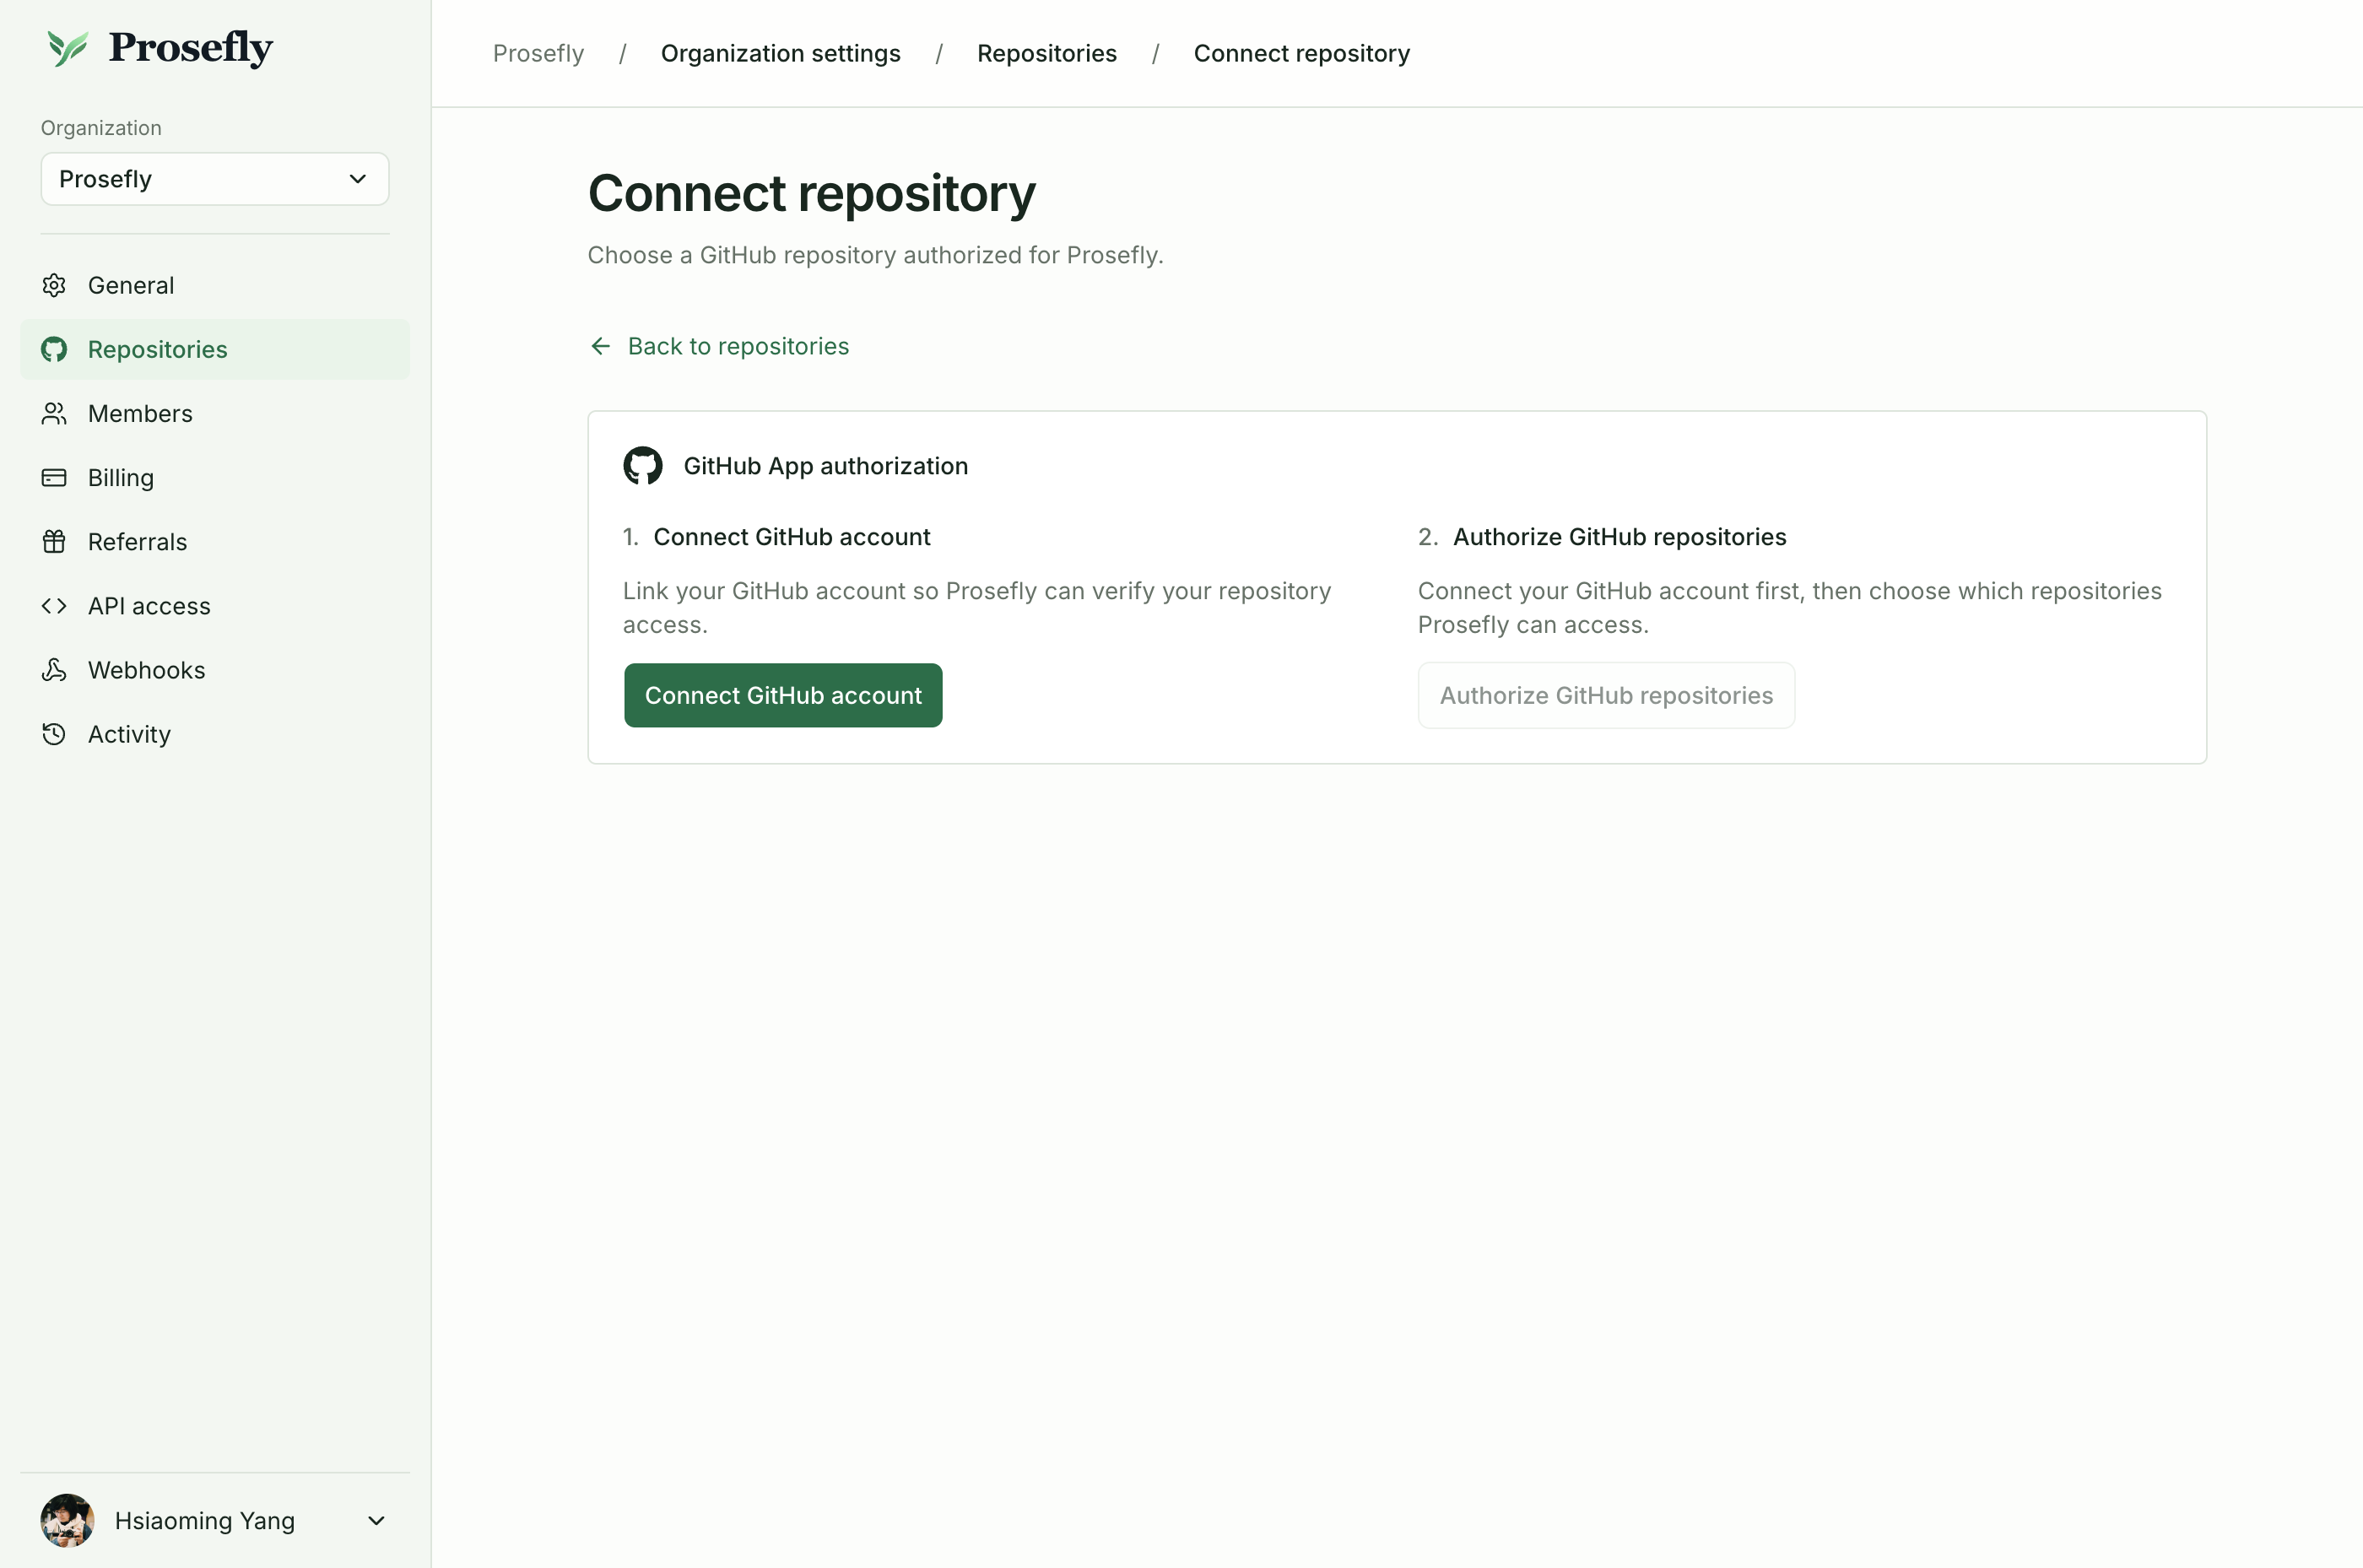
Connect your GitHub account before authorizing repository access.
2. Authorize repository access
Choose Authorize GitHub repositories. In GitHub, select the account or organization that owns the repositories and grant the Prosefly GitHub App access to the repositories you want to manage.
An organization-owned installation may require approval from its owner. Read access is sufficient for scanning; publishing also requires the necessary write permissions, and must respect the repository’s branch protections.
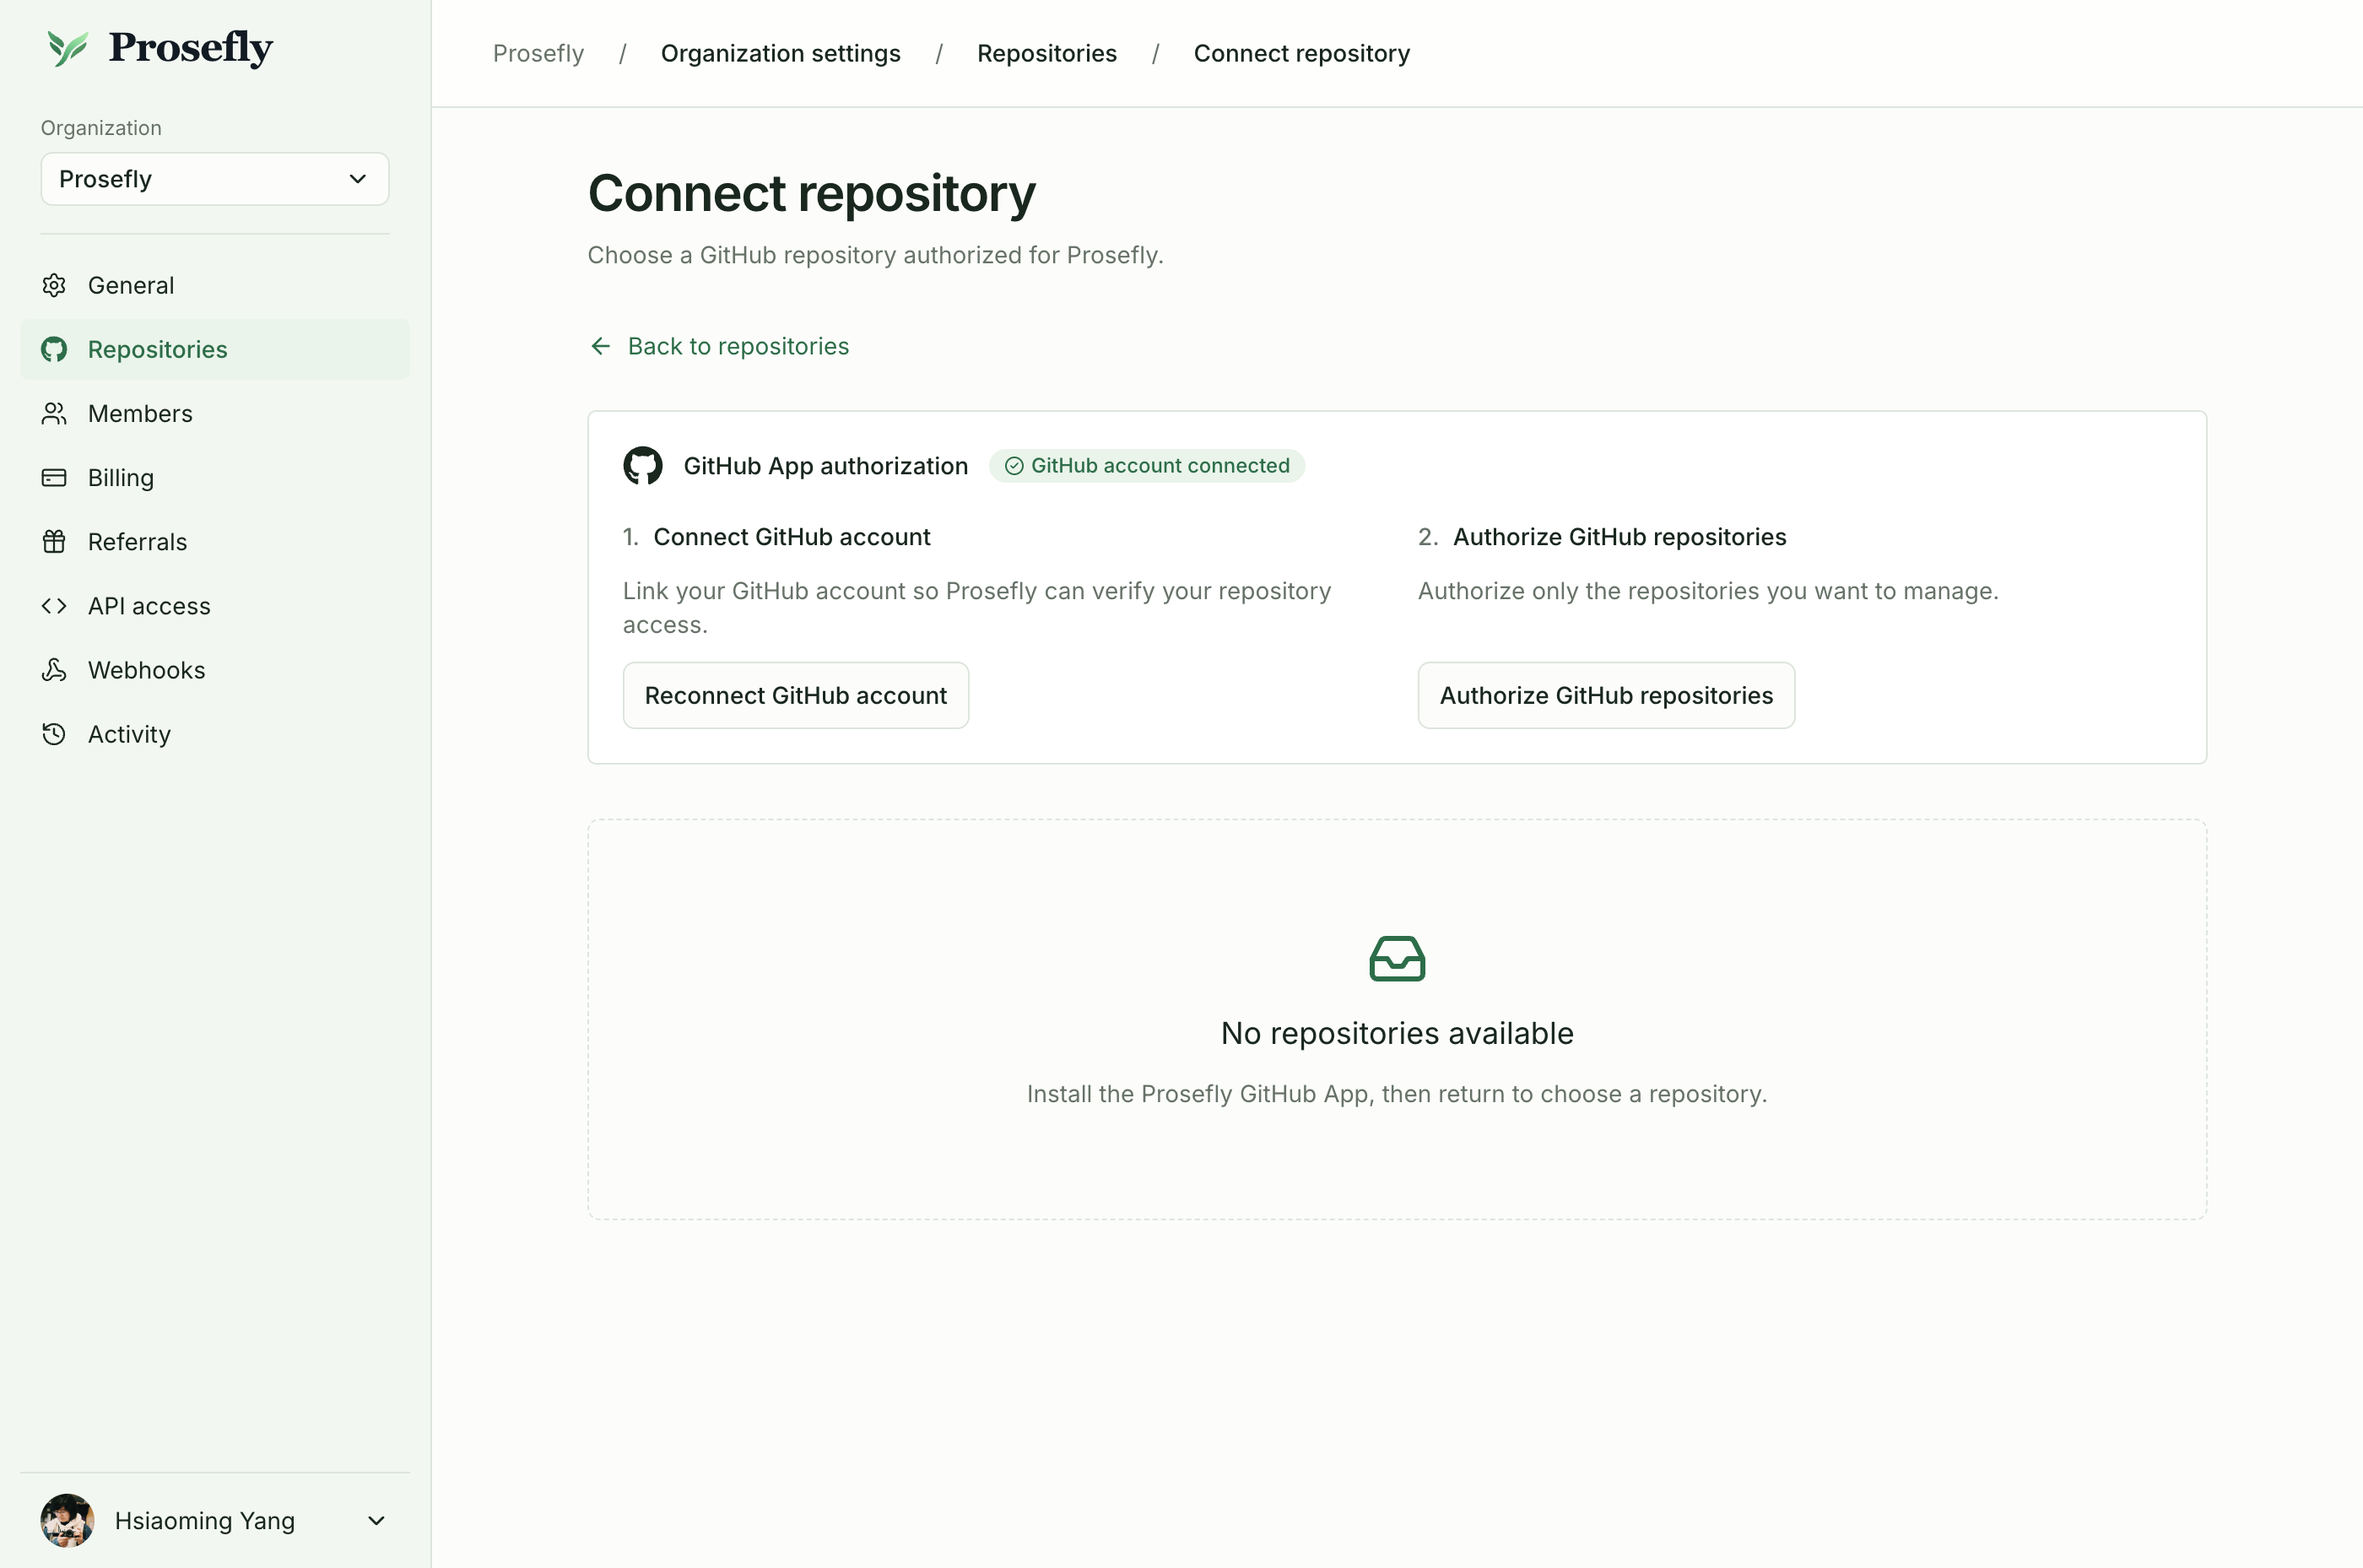
Authorize the Prosefly GitHub App to access the repositories you choose.
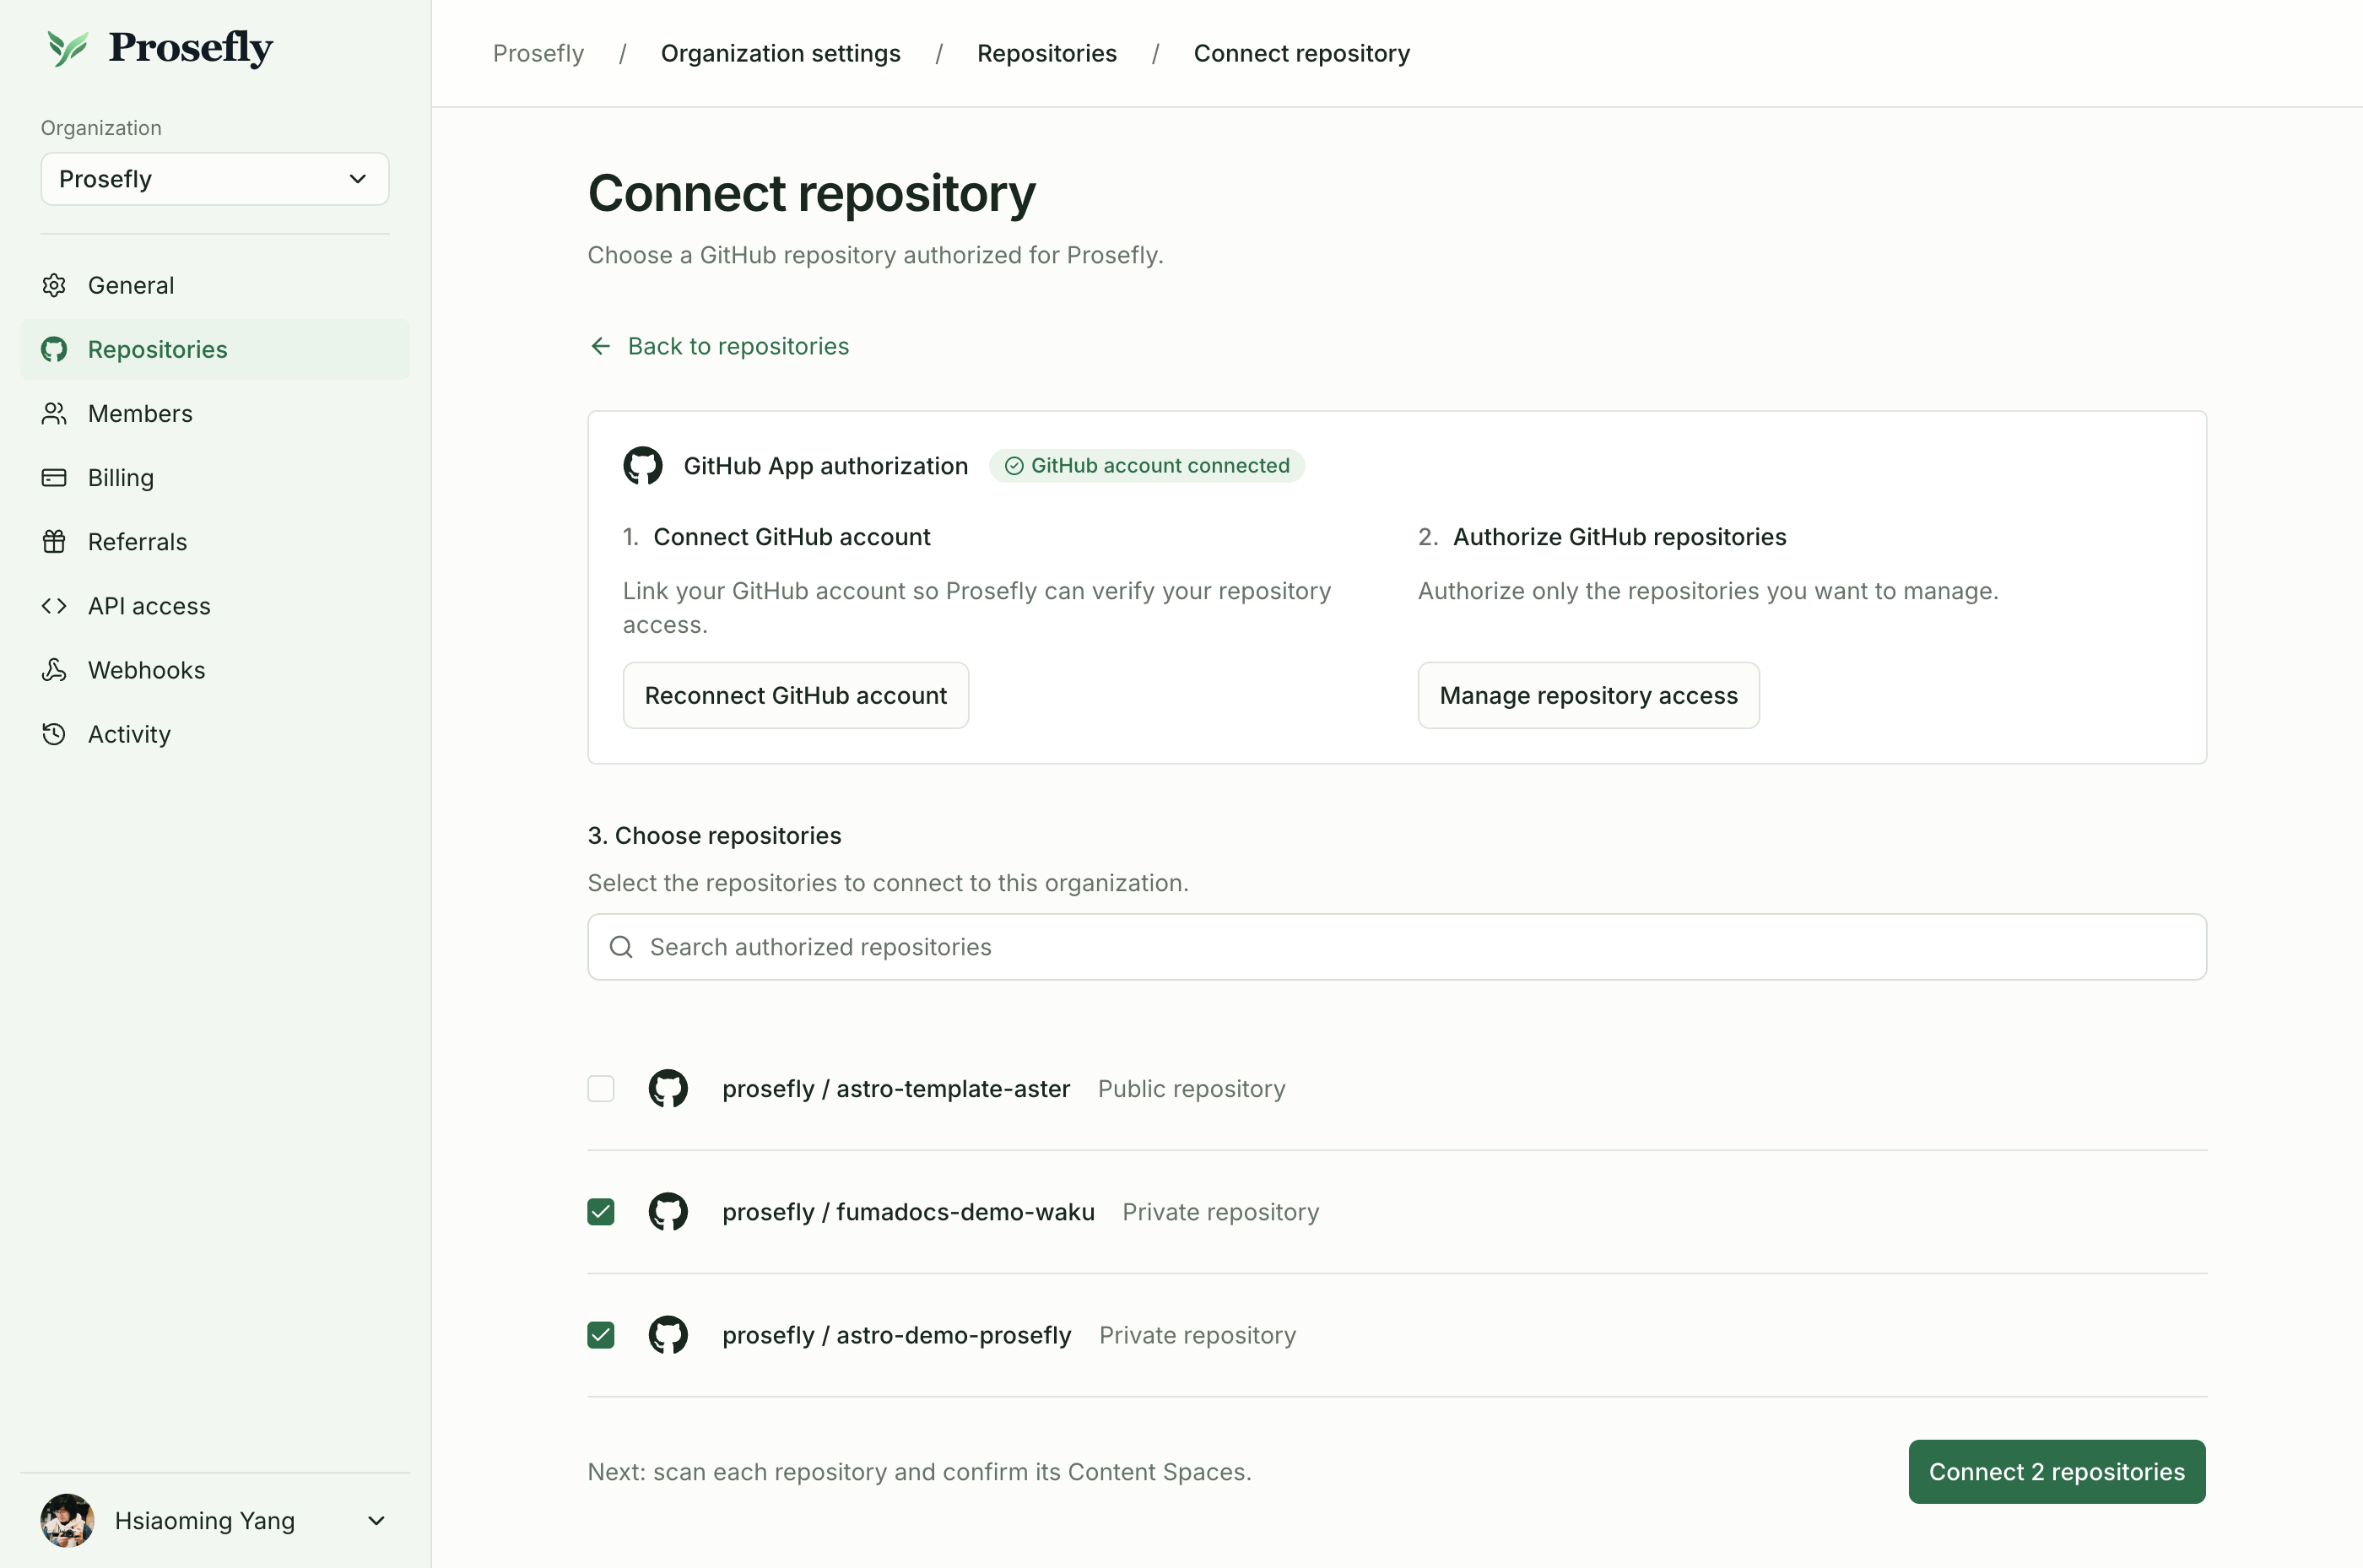
3. Choose repositories
Back in Prosefly, search the authorized repository list and select the repositories to connect to this organization. You can select more than one, subject to your plan’s repository allowance. Use the connection button below the list to confirm your selection.
If a repository is missing, use Manage repository access to check the GitHub App’s authorization. Linking your account alone does not authorize every repository.
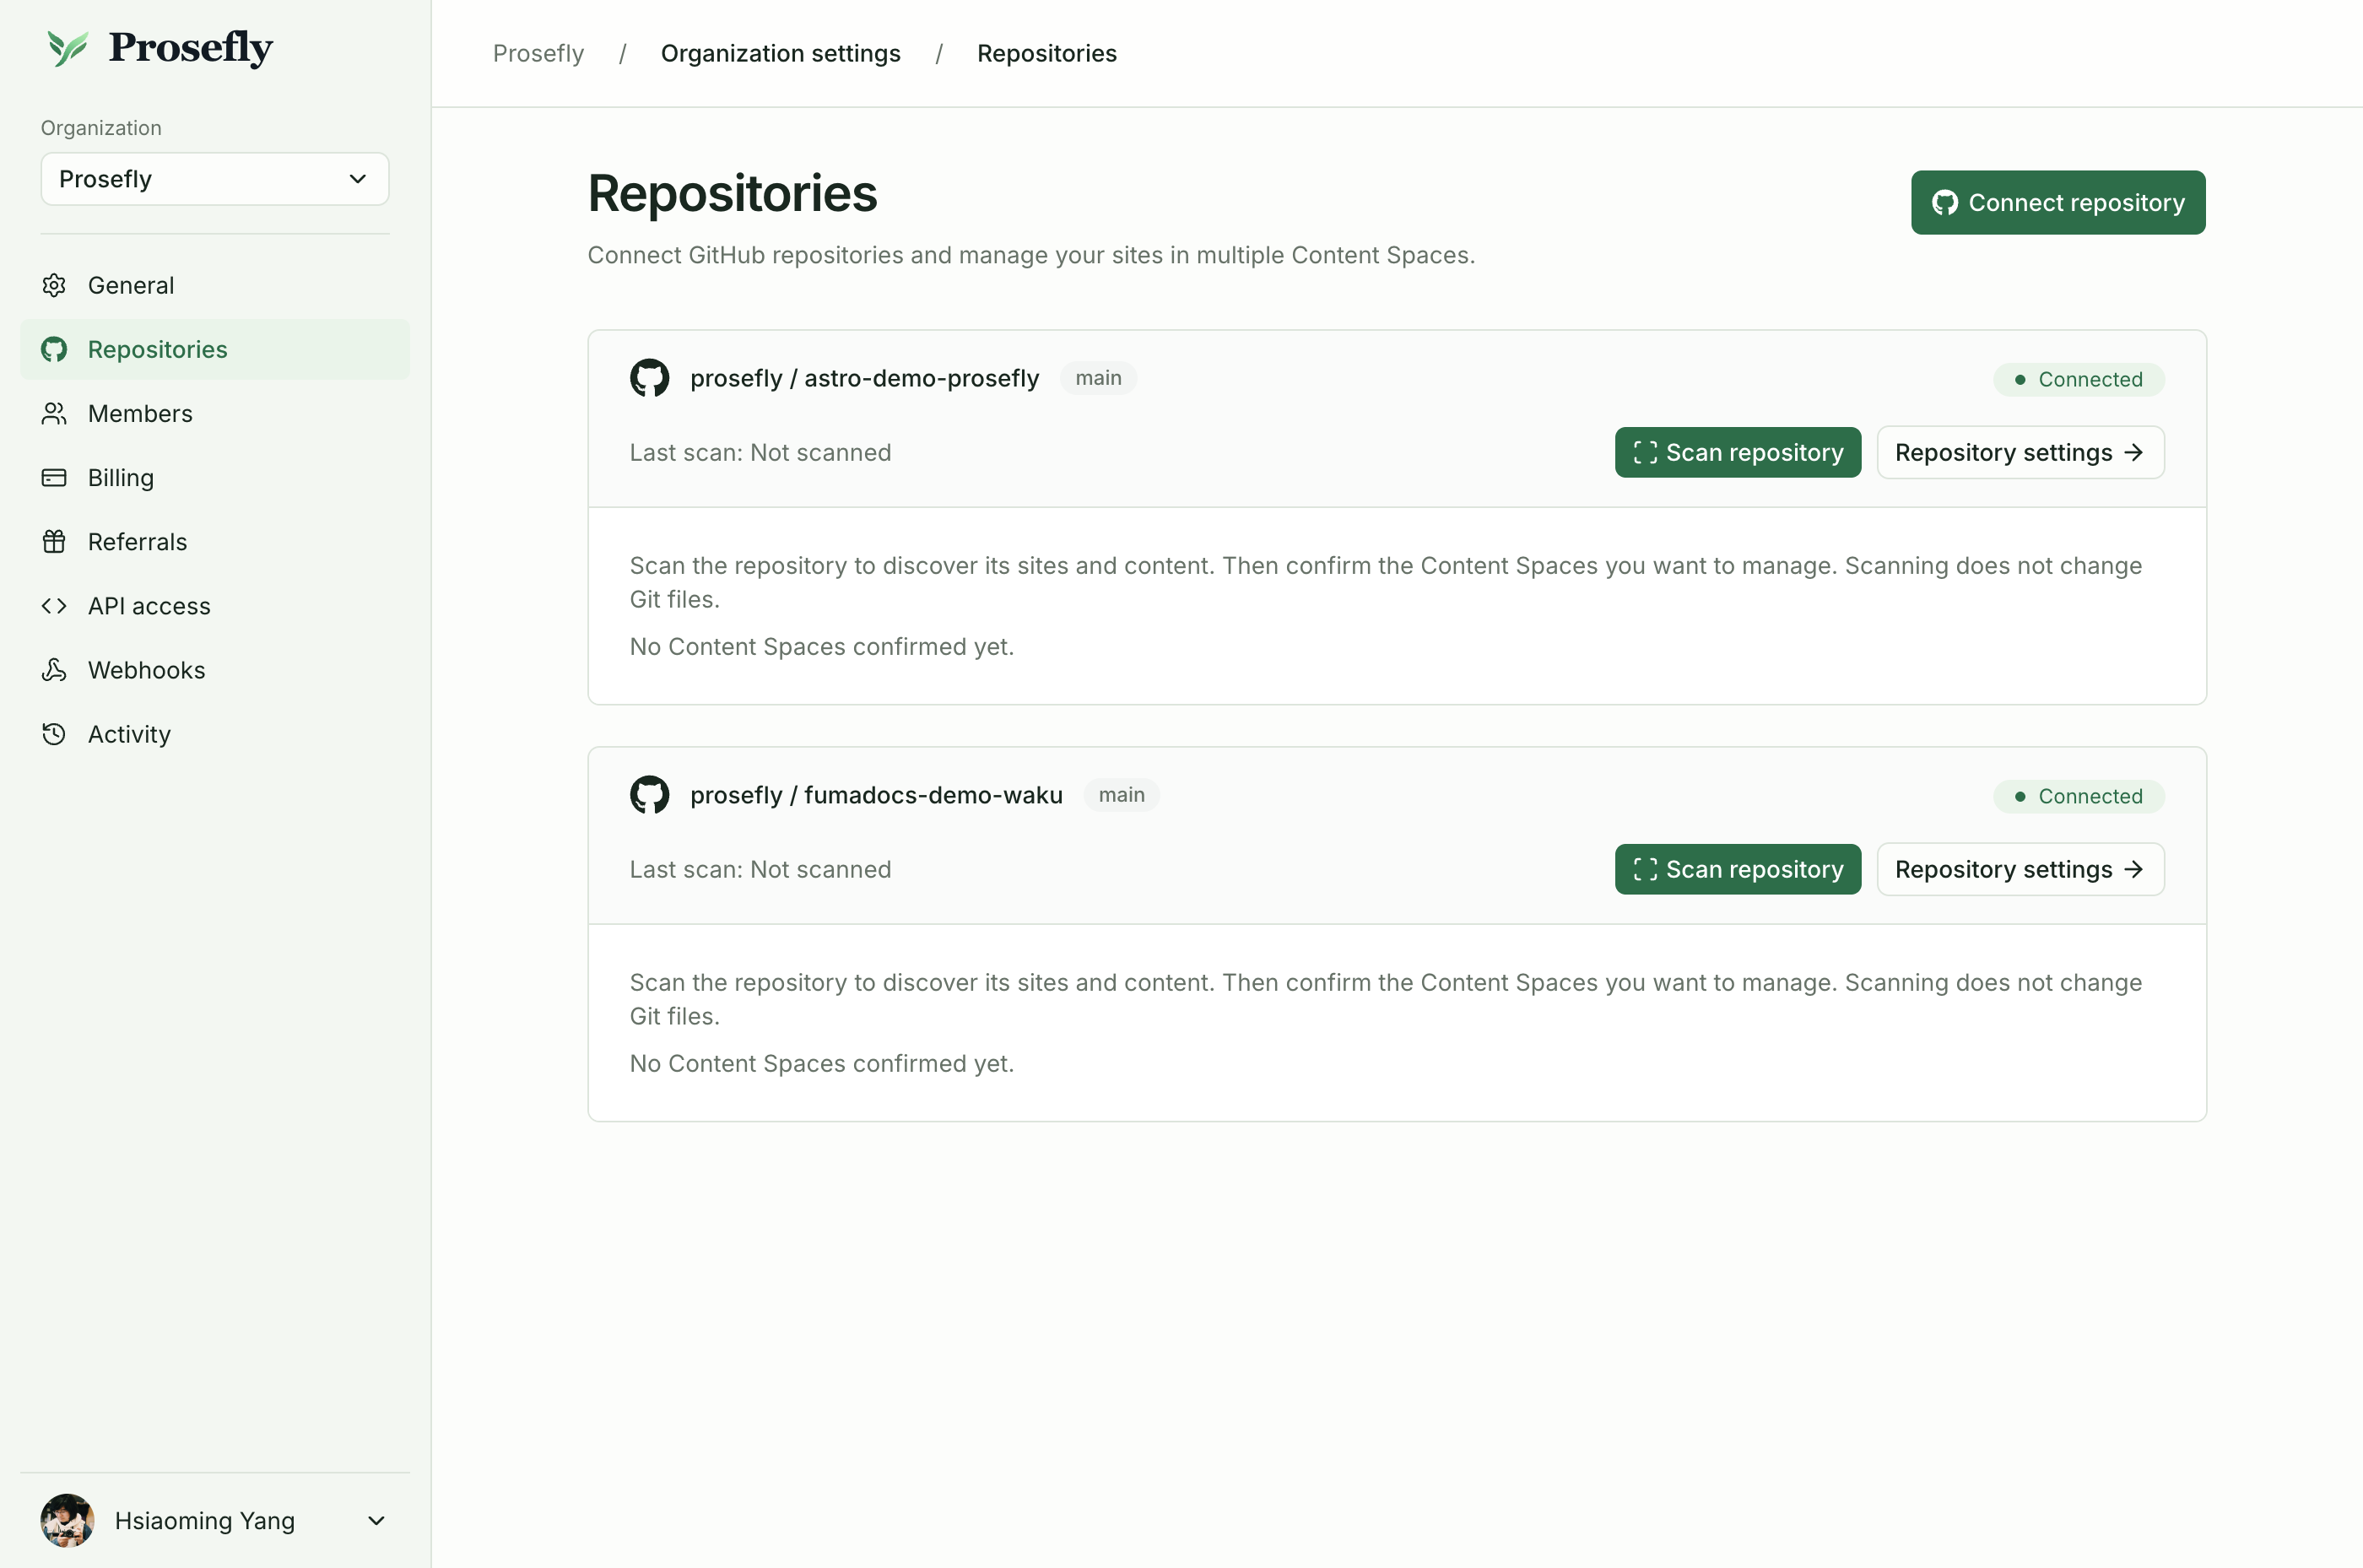
4. Scan a repository
The connected repositories appear in Organization settings → Repositories. Choose Scan repository for the one you want to work with. Prosefly reads its configured target branch to identify sites and content Collections.
Scanning does not change Git files or execute repository code. Connecting a repository and scanning it are separate steps.
5. Confirm content Spaces
Review the sites or applications discovered by the scan. Check the framework, content directories, Collections, and detected properties. Select the content Spaces you want to manage, confirm your selection, and wait for indexing to finish.
The example below shows one Astro site with separate Blog, Changelog, Company, and Docs Collections. Your results depend on your repository’s structure and supported configuration.
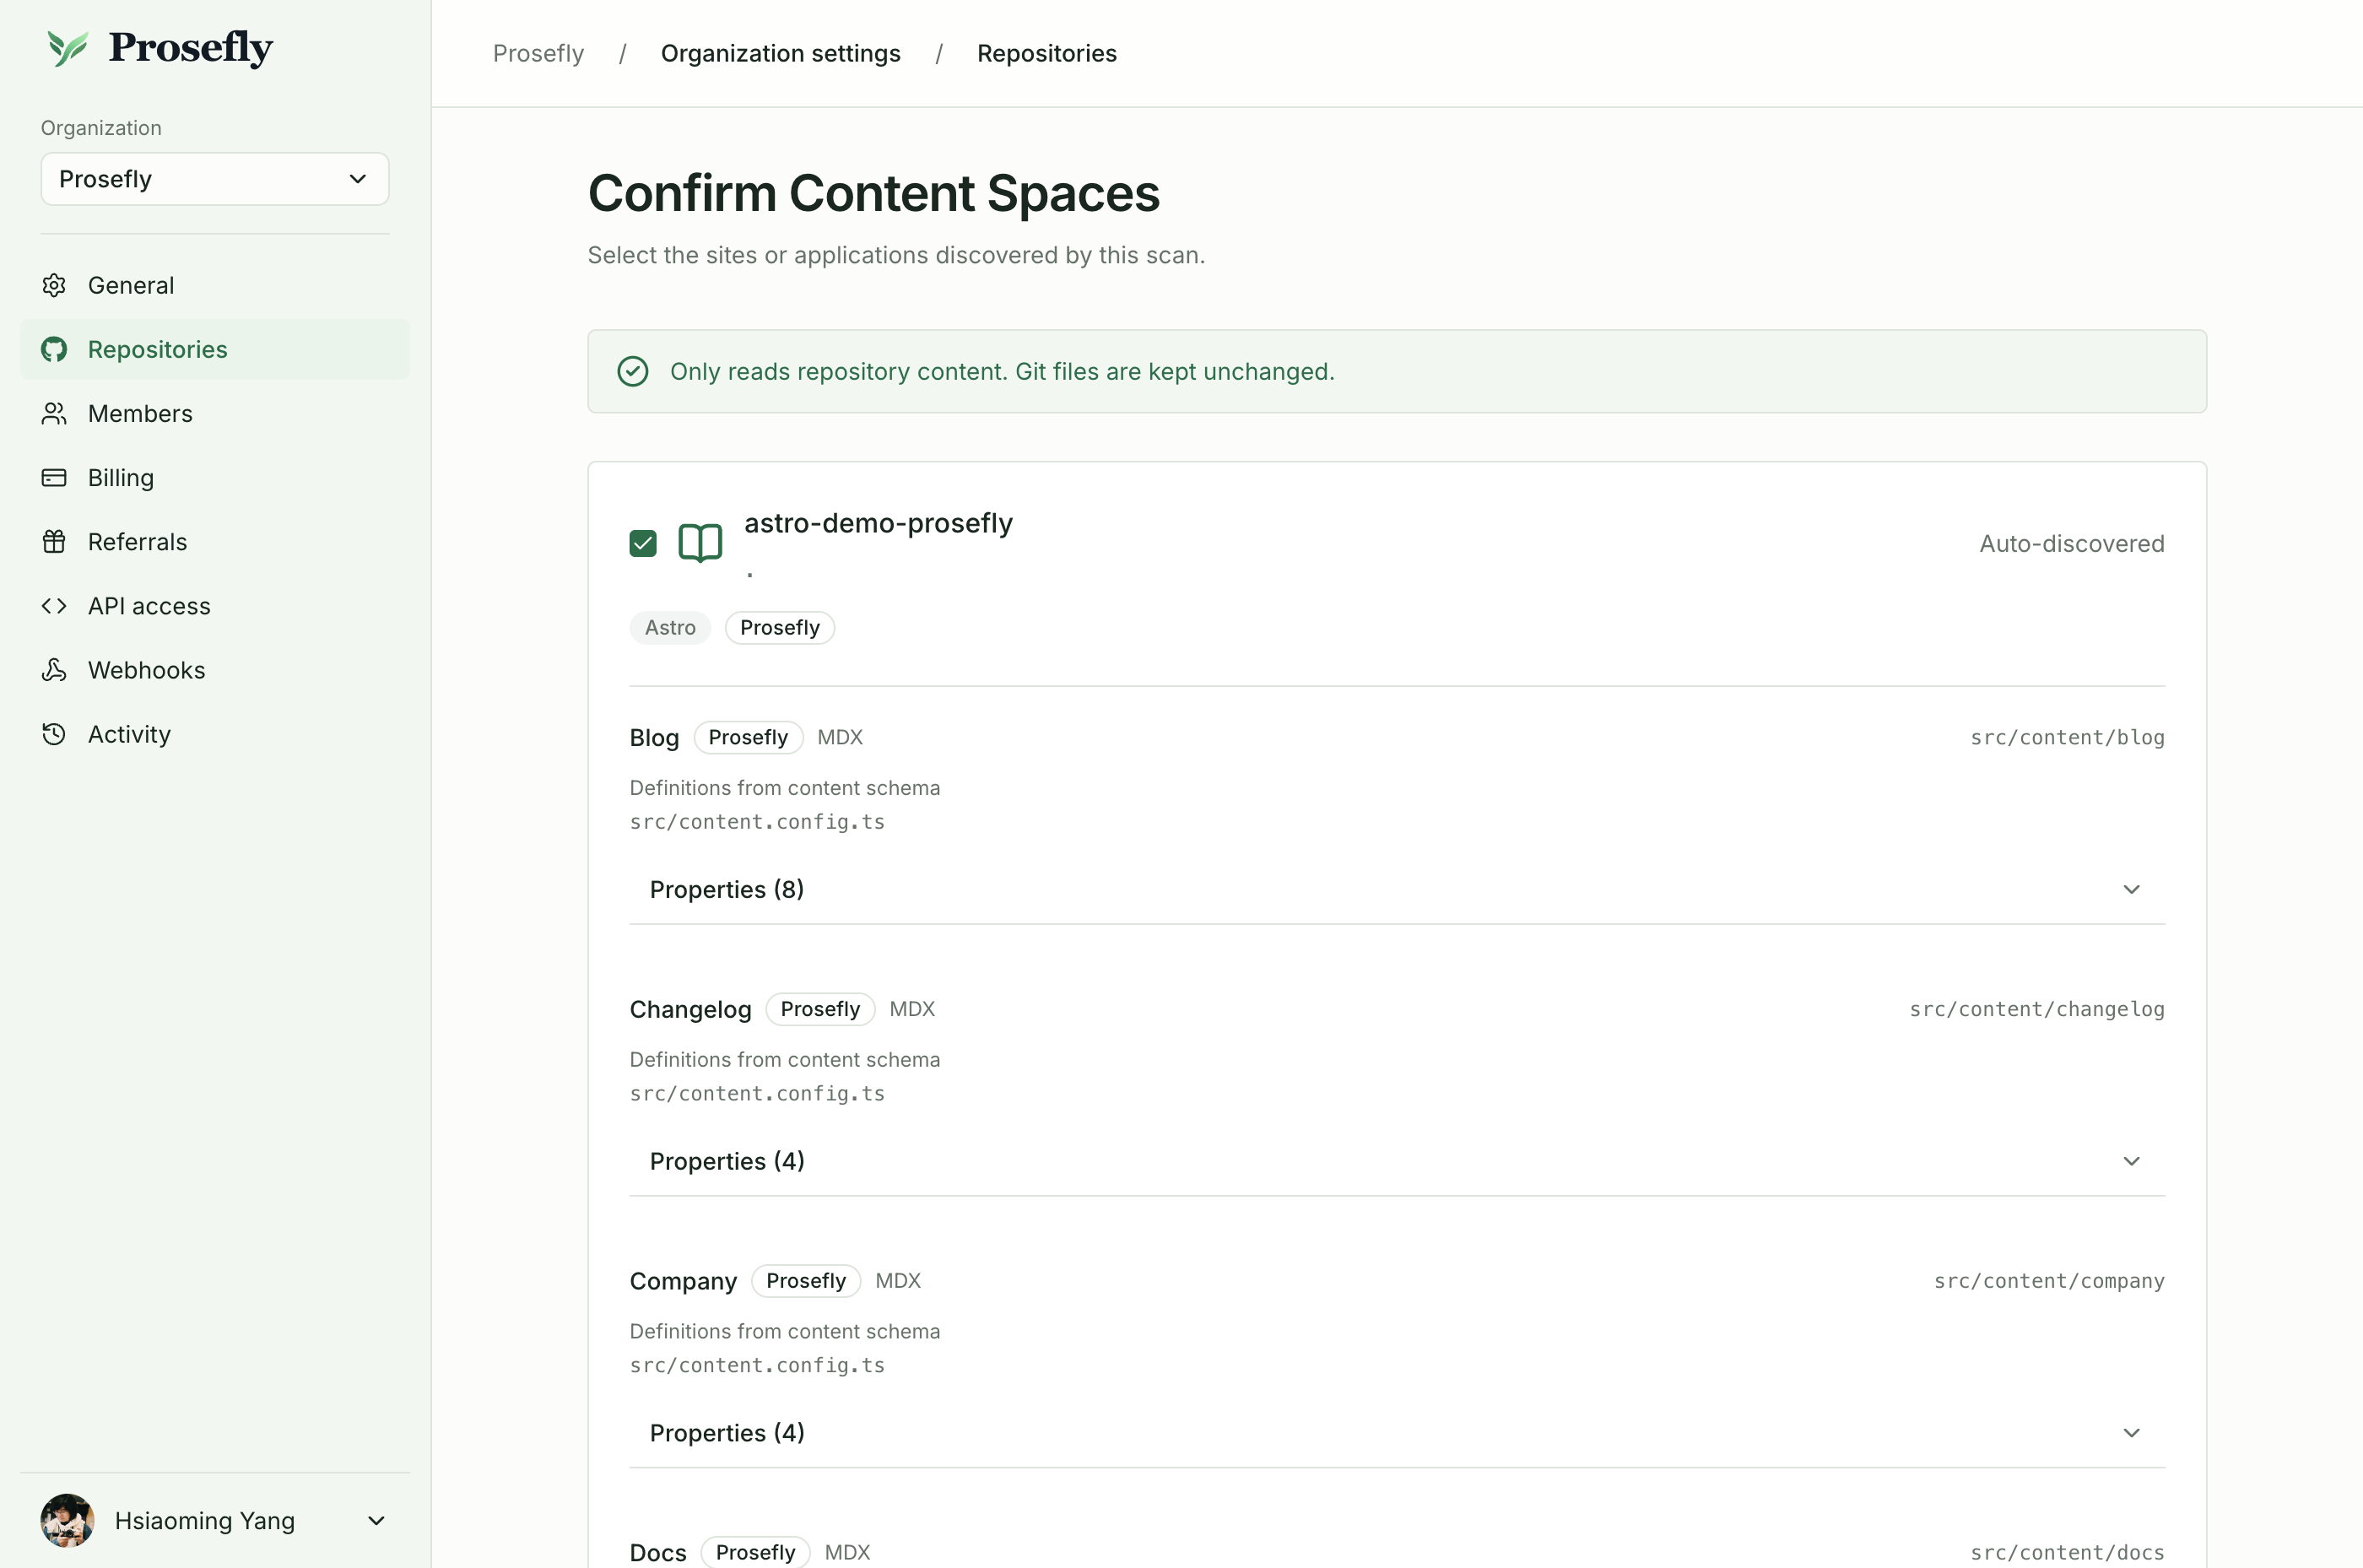
Review the detected content paths and Collections before confirming a content Space.
Open your content
Open a confirmed Space from the repository’s settings, then select an entry from Content. You can now edit and save drafts in the workspace. Saving a draft does not commit to Git; publication is a separate review step.
If discovery does not match your repository, check the configured branch and content paths. Custom loaders or dynamic configuration may need manual configuration. After changing files outside Prosefly, scan again and rebuild the index to refresh the workspace.
Continue with editing content, or read Repositories and Spaces for configuration and indexing details.
Last updated Oct 9, 2026